Roof Inspection in the USA
Our technicians begin at the ridge and work downward, documenting each layer of shingles or membrane, the condition of step flashing where walls meet the roof plane, and the seal around every penetration. They measure rafter spacing and note any deflection in the deck that could alter drainage paths. Homeowners can first enter the attic with a flashlight to look for dark streaks on sheathing or insulation that has darkened from repeated wetting.
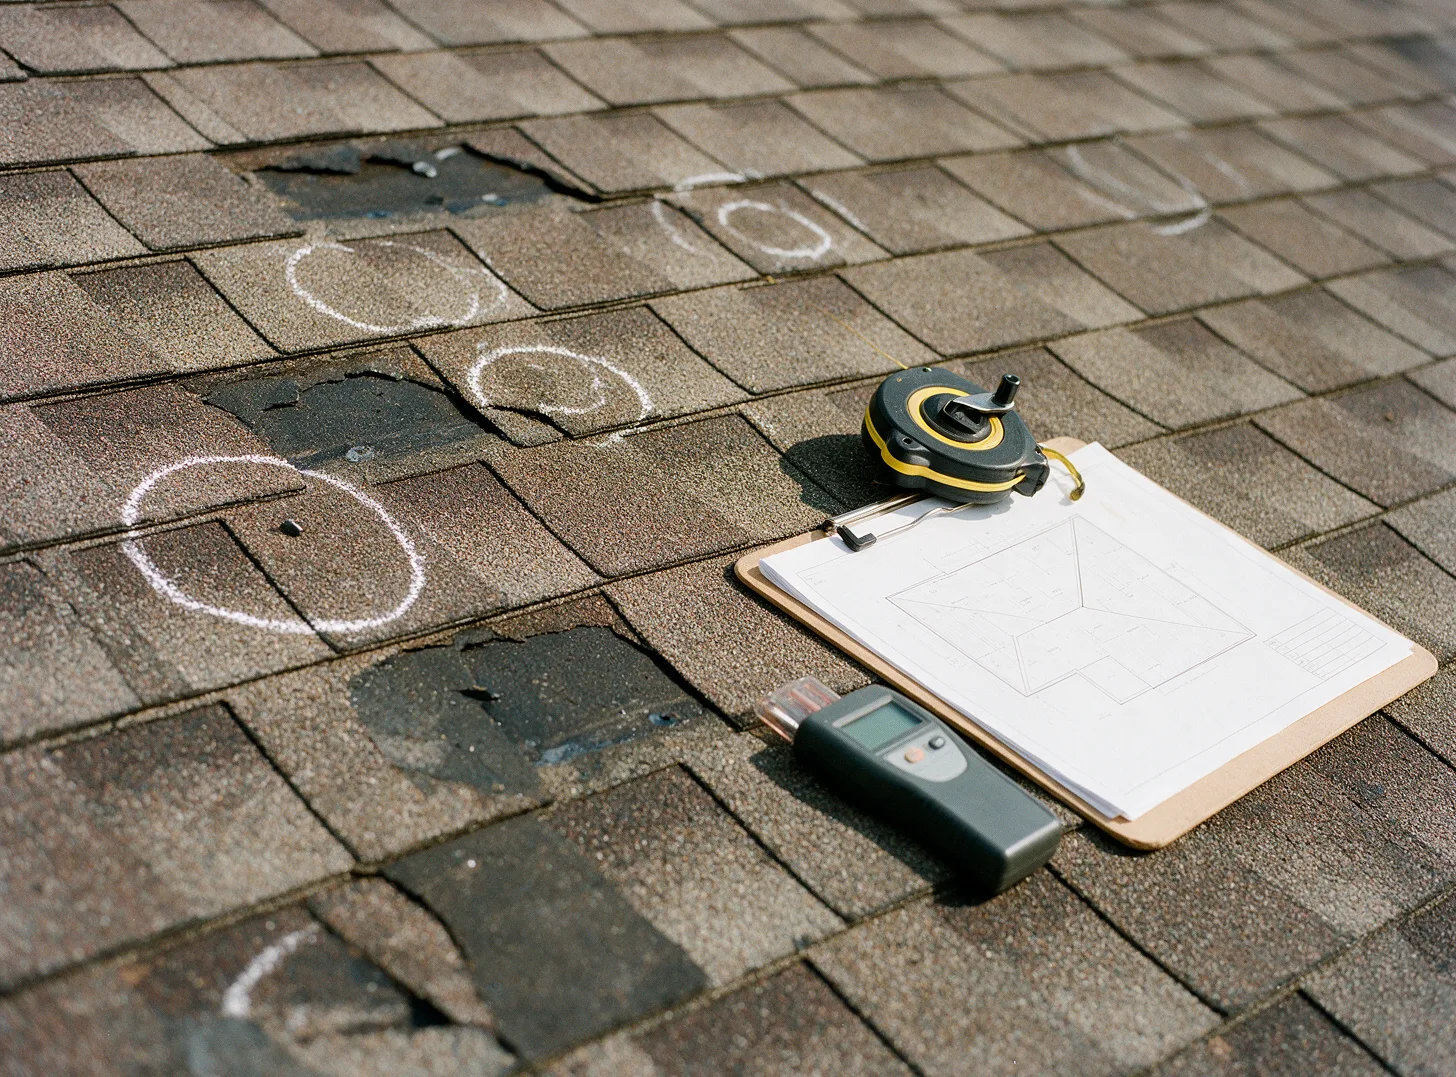
After the attic check, the crew places a ladder at a corner and inspects the drip edge for proper overlap over the gutter back. They lift select shingles to view the underlayment and felt layers for wrinkles that trap water. Any soft spots underfoot are marked with chalk so the owner sees exactly where the deck has lost stiffness from prior leaks. Need roof inspection? Certified Roofing Contractors answers from anywhere in the USA.
Visible Indicators That Call for an Inspection
- Granule loss creating bald patches on asphalt shingles
- Shingle edges curling upward after repeated heat cycles
- Dark streaks running down from nail heads or valleys
- Sagging along the roof plane between rafters
- Water stains on ceiling drywall directly below the ridge
Sequence of Checks Performed on Site
Technicians start by walking the perimeter to record eave height and slope angle with a digital level. They then examine the ridge vent for proper nail spacing and check that the vent cap overlaps the top course of shingles by at least two inches. Each valley is traced from ridge to gutter to confirm the metal liner remains flat and free of debris dams.
Next the crew tests every exposed nail for tightness and looks for sealant that has dried and cracked around pipe boots. They probe the deck with a moisture meter at multiple points to map any hidden saturation in the plywood or OSB. Findings are recorded on a diagram that shows exactly which sections of underlayment have lost adhesion to the deck.
Finally they inspect the condition of the starter strip at the eaves and note whether it extends past the drip edge to direct water into the gutter. Any missing or displaced granules on the lower courses are counted so the owner understands the rate of surface wear.
Materials and Components That Receive Attention
The inspection covers the full assembly from decking upward. Technicians note whether the deck is plywood or oriented strand board and check for delamination along edges. They verify that synthetic underlayment has been used instead of felt in areas with steep slope and record the weight rating stamped on the rolls.
Flashing details receive separate attention. Counter flashing tucked into masonry joints is checked for proper depth and sealant beads. Step flashing on sidewalls is measured for overlap and correct angle so water cannot migrate behind the siding. Ridge cap shingles are lifted to confirm the vent opening size matches manufacturer requirements for the roof pitch.
Fasteners are examined for type and placement. Ring-shank nails are distinguished from smooth shank in high-wind zones, and their spacing along the perimeter is counted against code tables. Pipe boots and vent flashings are tested for UV degradation and flexibility before any recommendation for replacement parts is made.
Findings That Lead to Repair or Replacement Options
When underlayment shows wrinkles or moisture stains, the crew explains that the only lasting fix is removal of the affected courses so new synthetic underlayment can be installed over dry decking. If flashing has separated at a valley, they describe how new metal can be woven into existing shingles without disturbing the entire slope.
Deck deflection noted during the walk prompts discussion of sistering rafters from the attic side before any new roofing is applied. Missing ridge vent fasteners lead to a recommendation for additional screws rather than full vent replacement when the rest of the assembly remains sound. Each option is tied directly to the measured condition of the existing layers.
Homeowners receive a marked-up roof plan that shows which materials would be needed for targeted repairs versus full replacement. The plan lists shingle weight, underlayment type, and flashing gauge so the owner can compare the scope of work with any future proposals.
Preparation Steps Before the Crew Arrives
Clear access to the attic by moving stored items away from the hatch. Place a tarp on the floor beneath the opening so any insulation disturbed during the inspection stays contained. Note the location of any interior water stains with painter's tape so the technician can correlate them with exterior findings.
Outside, move vehicles away from the driveway to allow ladder placement at multiple eaves. Trim tree branches that overhang the roof edge if they can be reached safely from the ground. These steps let the crew focus on measuring layers and tracing water paths without delay.
Roof Inspection questions
How long does a typical roof inspection take?
The crew spends two to three hours on a standard single-story home. Time covers walking every slope, lifting select shingles to inspect underlayment, probing the deck for moisture, and documenting flashing details around all penetrations before the report is prepared.
What happens if moisture is found in the deck?
The technician marks the affected area on the diagram and explains that the wet section must dry or be replaced before new roofing can be installed. In some cases the crew can remove a limited number of courses from the attic side to install new plywood while leaving the rest of the roof intact.
Do you inspect attics as part of the service?
Yes. Technicians enter the attic to check for water stains on sheathing, measure rafter spacing, and look for insulation that has compressed from previous wetting. This interior view often reveals the exact path water has taken after it passed the roof plane.
Can the inspection identify the cause of interior leaks?
The process traces water from the ceiling stain upward through each layer until the entry point is located. Technicians note whether the leak originates at a valley, around a vent pipe, or through failed flashing so the repair plan targets the correct material and joint.
Schedule Roof Inspection
Contact Certified Roofing Contractors to arrange a Roof Inspection that maps every layer and water path on your roof.